The project experience / Scintillax journal
A satisfying project begins with shared expectations.
Prepare a clear brief, compare samples, coordinate cabinets, stone and lighting, and agree the review and care details that matter to your finished project.
A beautiful reference image is only the beginning of a project. Satisfaction also depends on the everyday details: whether a drawer opens as expected, the light feels comfortable at dinner and the selected finish can be cared for in the way you anticipated.
Scintillax’s work connects custom cabinets, stone surfaces, LED lighting and related finishes. The following checkpoints help you prepare for that conversation and agree what the project should deliver. Confirm the actual responsibilities, review stages and handover arrangements in your proposal.
Begin with what you want to improve
Describe the parts of your current room that make daily life awkward. Perhaps the preparation counter feels dark, storage is difficult to reach or the island looks disconnected from the rest of the room. A useful brief names those experiences before listing products.
Share your community, property type, photographs and approximate dimensions. Include the finishes and appliances you plan to keep, your preferred timing and the budget priorities you want the team to understand. Identify which choices are essential and where you are open to alternatives.
An inspiration board can help. Save a few material examples and design studies, then add what you like about each. A photograph showing the desired lighting effect is more useful when paired with a note about the room and task it should support.
Review samples and drawings together
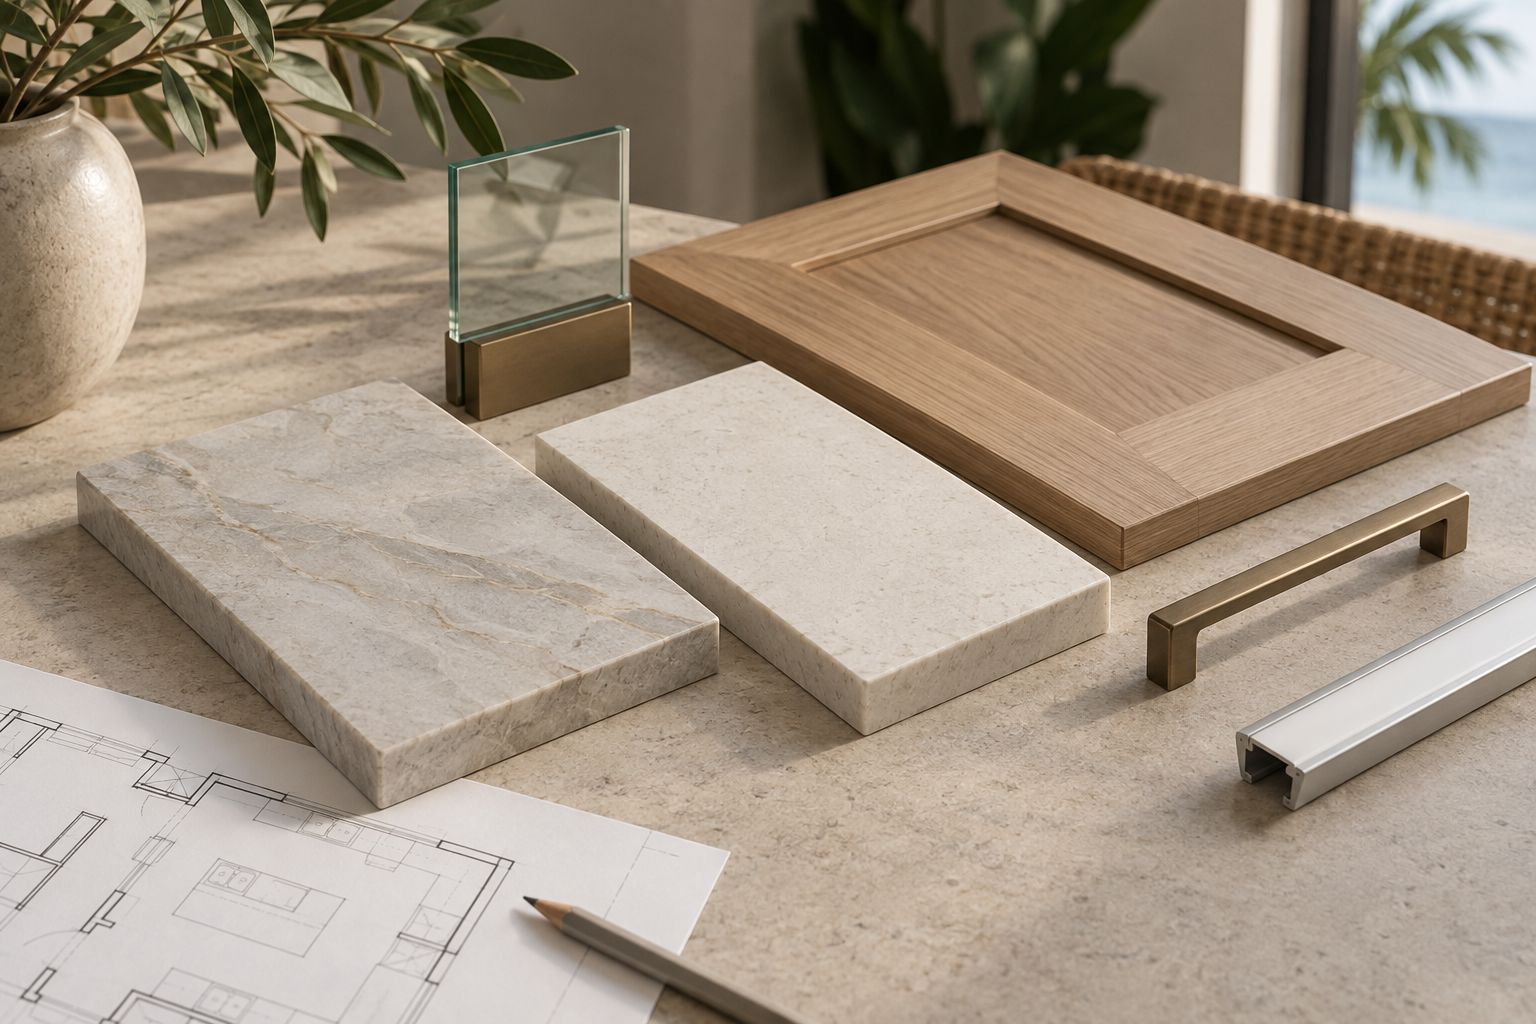
Compare cabinet finishes, stone, glass and metal details under the proposed light. Ask what the sample represents and which variations are expected in the actual product. For natural stone, review the selected slab and the planned cuts; a small sample cannot establish the pattern across a whole island.
Scintillax offers locally fabricated custom cabinets, personalized material choices, CNC-cut parts and precut LED insertion options. Those capabilities make the drawing review valuable: confirm storage arrangements, doors and drawers, appliance openings, panels and any lighting channels before the relevant work is released.
Our cabinet fabrication guide and integrated cabinet-lighting guide explain the decisions that belong in that review. Actual production and installation dates follow the confirmed scope and project conditions.
Make the interfaces visible in the scope
The meeting of two services is often where an assumption can hide. Identify who measures and confirms the cabinet-to-counter relationship, sink and appliance information, mounting details, electrical connections and any surrounding finish work.
For an illuminated feature, agree the source, controls, cable route and access to serviceable components. For shower glass, coordinate the opening and hardware with the completed surrounding surfaces. For outdoor work, discuss the substrate, drainage and transitions alongside the surface finish.
Use the scope review to answer five practical questions:
- What is included, and what preparation or work is handled separately?
- Which selections and measurements need approval before fabrication?
- What site conditions must be ready before the next stage?
- Who is the point of contact for questions and proposed changes?
- How will a change in selection or scope affect price and timing?
Prepare the property for the agreed sequence
Tell the team whether the home will be occupied during the work. Share access restrictions, parking, gates, stairs and any building-management instructions. Agree the working area, protection arrangements and the sequence with other trades before installation is scheduled.
For a Miami condominium kitchen, delivery routes and building access deserve early attention. For an outdoor kitchen, access and existing site conditions are equally important. The city name alone does not tell the team how the property works.
Review the result in the way you will use it
Plan a walkthrough against the agreed scope. Open the relevant drawers and doors, look at edges and visible junctions, and try the lighting controls at the settings you intend to use. View reflective surfaces from ordinary standing and seated positions.
Record any questions or items requiring attention with a location and photograph where useful. Agree the next action and contact rather than leaving the outcome implicit. A clear record makes it easier for everyone to understand what remains to be resolved.
This is also the right time to discuss what feels successful and what needs explanation. Honest feedback about both the finished details and the project experience is more useful than a general statement that everything looks fine.
Leave with the information needed for care
Ask for the care instructions that apply to the selected materials, relevant equipment references and the agreed route for follow-up questions. Confirm how to operate the lighting and how serviceable components can be reached. Review any product or workmanship warranty terms actually included in the project.
Keep that information with the approved selections and proposal. Knowing how the finished room should be used and maintained supports satisfaction beyond installation day.
Start a project conversation with the space, location and changes you have in mind. Shared expectations give good materials and careful details a clear purpose.
Bring your location, room photographs and the details that matter most. We can review the materials, light and practical requirements together.
Plan your projectMaterial studies
The details that make the room.